- 17rlochhead
- Mar 30
- 3 min read
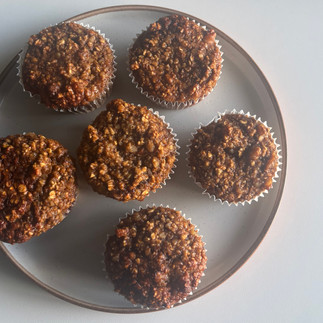
This homemade granola has it all: a rich, almond-forward flavour from the almond butter and almond extract, chewy clusters of dried cranberries, and crunchy pecans—perfectly sweetened with date syrup. It’s the perfect balance of textures and flavours, whether you're enjoying it as a snack, sprinkled over yoghurt, or added to smoothies or porridge.

The inspiration for this granola comes straight from my mum, who—given any opportunity—will add pecans and cranberries to absolutely anything: breakfast, snacks, desserts, you name it! One of her favourites is a morning yoghurt bowl, topped with crumbled pecans, cranberries, and, of course, a generous drizzle of almond butter. So, I thought, why not combine all those flavours into a granola that works for any time of day?
This granola is perfect for a quick snack, a crunchy topping for yoghurt bowls, or even a wholesome addition to your morning porridge or smoothie. It’s simple to make, and the flavour combinations are endless!
The base of this recipe is incredibly flexible, so feel free to mix and match based on your preferences or what you have on hand. For instance:
Almond extract and seeds are optional, but they add an extra boost of flavour and texture. If you prefer, you can swap them out for vanilla extract or other seeds like pumpkin or sunflower.
The granola is naturally gluten-free if you use certified gluten-free oats, and it's vegan and dairy-free too!
If you have nut allergies, you can easily make this nut-free by replacing almond butter with a seed butter like sunflower or sesame seed butter (You could even use flavoured ones!). Feel free to swap the pecans for a mix of seeds, dried fruits like blueberries or cherries, or chocolate chunks for a sweet twist!
Since I started making my own granola, I’ve never gone back to store-bought. Store-bought options often feel too sweet or lack the texture I love. Homemade granola lets me control the sweetness and texture to suit my tastes perfectly. I’m all about super clustery granola, and making it myself ensures I get those big, satisfying clusters that are just the right amount of crispy. Plus, I love adding a good amount of dried fruit to give it a chewy texture, and making it myself lets me control exactly how much goes in.
This granola is made with just a few basic ingredients and can be prepared in one bowl, making it ideal if you’re not a confident baker but want to dip your toe into a bit of relaxed baking. Plus, it’s perfect for meal prep, so you can have a homemade snack on hand for days.

Have I convinced you yet? If not, just check out how easy the recipe is to follow below and see for yourself how simple it is to make your own granola!
Ingredients
2 Cups oats
1/3 Cup almond butter
1/2 Cup dried cranberries (chopped, if large)
1/2 Cup pecans (chopped)
1 tsp chia seeds
3 tsp milled flax seeds
1/4 Cup date syrup
1 tsp ground cinnamon
1/2 tsp almond extract
A pinch of salt
Method
Preheat Oven
Preheat the oven to 180°C (fan). Line a baking tray with parchment paper.
Mix Wet Ingredients
In a large mixing bowl, combine almond butter, date syrup, almond extract, cinnamon and salt. Stir well until the mixture is smooth and well combined.
Add Dry Ingredients
Stir in the oats, chia seeds, and flaxseeds until everything is evenly coated.
Add Nuts and Fruit
Add the pecans and dried cranberries. Mix well so everything is evenly distributed.
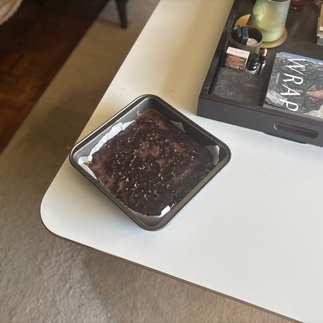
Spread Evenly
Spread the granola mixture evenly on the prepared baking tray. Gently press it down with a spatula.
Bake
Bake for 10-12 minutes, then stir the granola to ensure it bakes evenly. Continue baking for another 10-12 minutes or until golden.
Cool Completely
Let the granola cool completely on the baking tray before breaking it into clusters.
Store
Once fully cooled, store the granola in an airtight container.
This granola is incredibly versatile. It’s delicious as a snack straight from the jar or as a meal prep option. Add it on top of chia pudding, overnight oats, or yoghurt parfaits for a satisfying crunch that complements your prepared breakfasts. You can also enjoy it with a bowl of yoghurt or milk, and I like to throw in some fresh or frozen berries and a drizzle of nut butter for extra flavour.


Still haven't fully scratched the baking itch? If you're looking for more meal prep options, baking inspiration, or just some fun food updates, head over to my Instagram @rubysgfkitchen to stay up-to-date!
Happy Baking,
Ruby x